
Hello to all of you, and Happy Monday! It seems to me that the season of showers, both Baby and Bridal, is fully upon us. And with Mother’s Day also just around the corner, I thought it would be timely to give a little lesson in putting together a smashing looking gift basket. A super valuable skill for anyone who calls themselves creative. Why? Because we all know that as in most things in life, presentation is as important as content. True for everything from food to job interviews. Scientifically proven.
So, here we go.
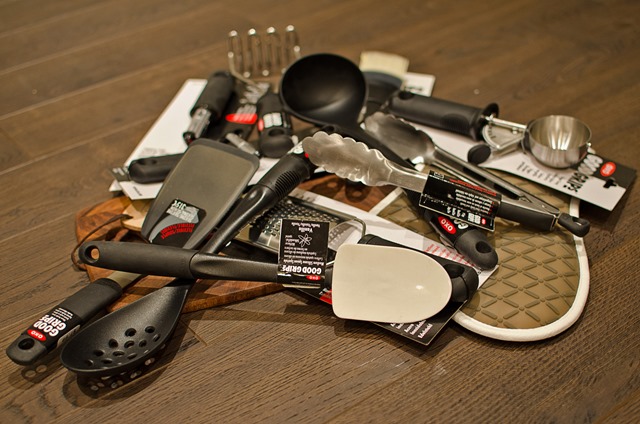
First thing is to shop for your basket’s contents. And spread them out all over the floor.
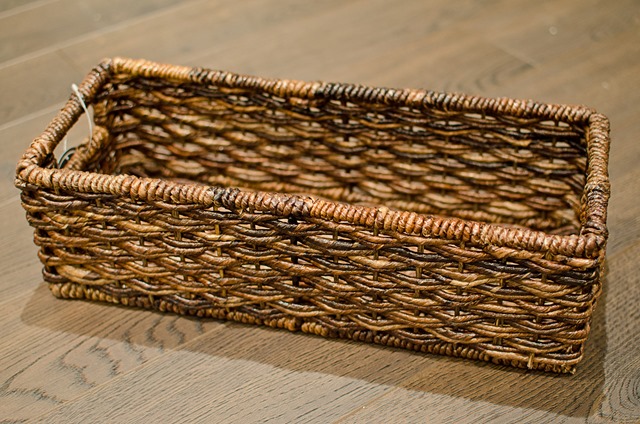
Next is shopping for something to contain it all. The best thing is something simple and practical. A flowerpot, a bowl, a basket or a tray all work well. Scour your local dollar stores and the clearance aisles of the big box homegoods stores. This basket is from my newly opened Target, and is actually a media basket. I guess for DVD’s, but it could be used in multiple ways, and the pile of stuff I had bought fit in it really well.
Collect up all your wrapping supplies and you’re ready to go.
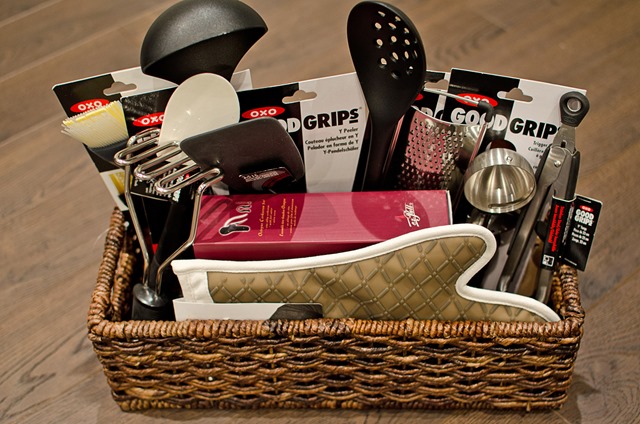
Next, arrange everything inside the container. A bit of height is good, symmetry is good. Also you want everything to be at least a little bit visible and looking good from every side. Sometimes I tape a few of the things together just to help keep them in place.
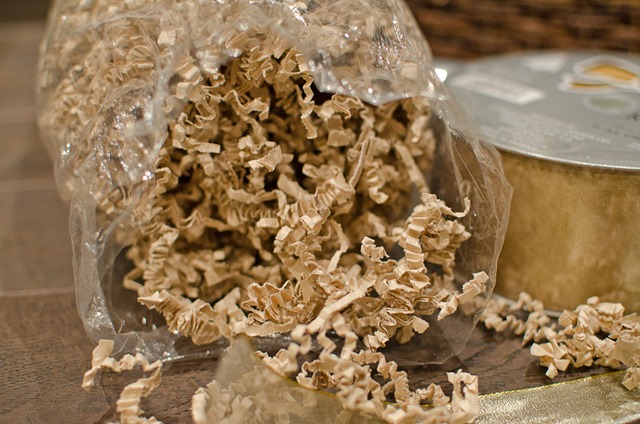
Now I know for a fact that many of you will start stuffing the empty spaces with tissue paper. Don’t do it. Tissue paper is bad. Repeat after me…Tissue. Paper. Is. Bad. There is no way to stuff and fluff it and have it look at all attractive or professional. It’s not re-useable. Not even recycleable. Bad. So this is what you want to stock up on.
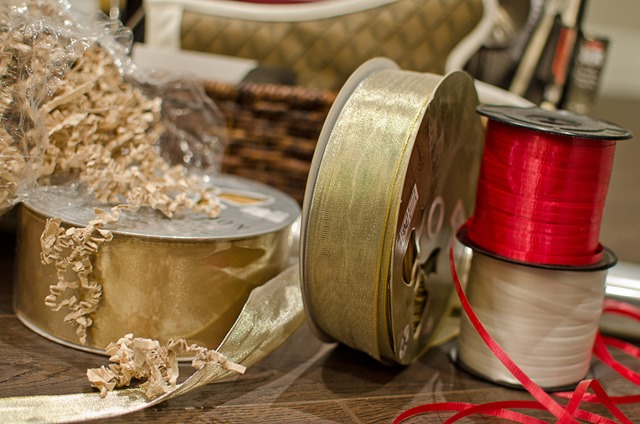
Some stores call it paper shred, some call it sizzle. I buy it in bulk from Creative Bag so it’s pretty inexpensive and available in a rainbow of colours. Of course being a fairly neutral girl I buy all the neutral colours. Natural, white, cream, maaaaaybe dark green for Christmas.
Sizzle is good. It’s great for fluffing up and filling in the spaces. It’s a great cushion if there are fragile or scratchable contents. See how it easily spills out attractively over the edges? It’s re-useable. It’s recycleable. Repeat after me… Sizzle. Is. Good.
Now to wrap it all up.
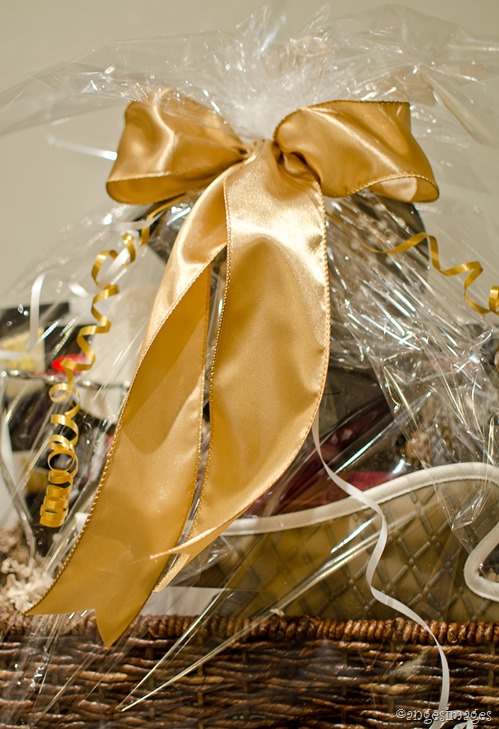
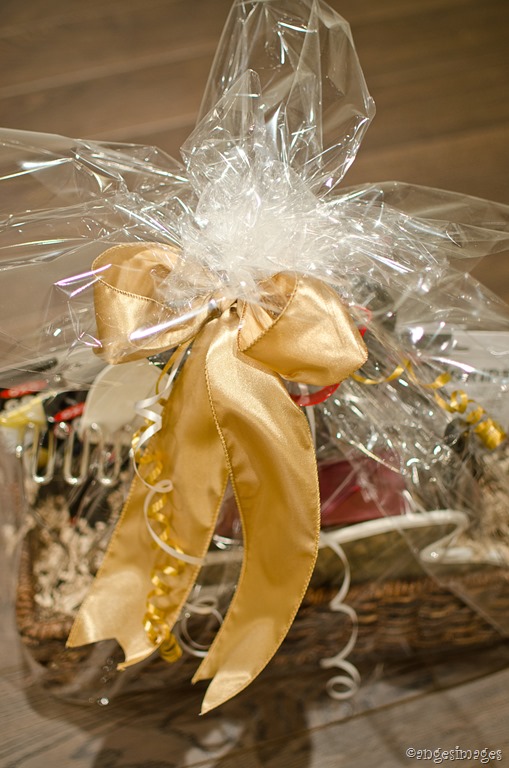
Clear cellophane which comes in a heavy roll from either Creative Bag again, or Bulk Barn. When you gather it at the top the trick is to pinch it together as tightly as possible and fasten it with a twist-tie. The more tightly you can gather it, the more fluffy the pouf at the top will be. A fluffy pouf is good. Then tie it up with decorative ribbon. I like a combination of curly ribbon and wired ribbon which holds its shape really well. And the details count…cut the ends of the wired ribbon like this.
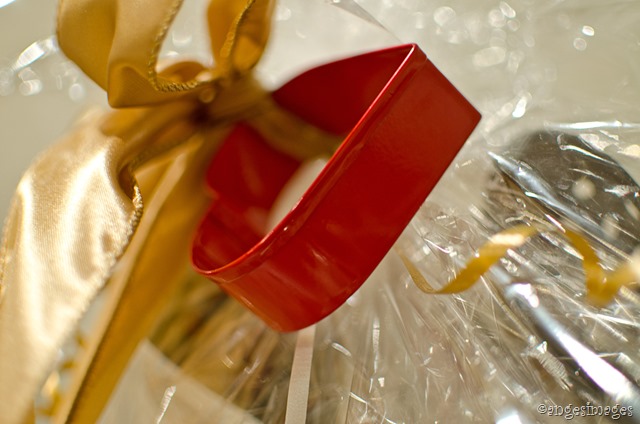
Can’t go wrong with some whimsical embellishment. A great tag, an ornament, a flower. I happened to find these red heart cookie cutters and couldn’t resist them.
And done.
How fabulous does that look on a gift table? It’s a good gift even before it gets opened.
You could make one too. It's easier than it looks!


Sharing is lovely...

